[작업로그] CI/CD 구축 #4
JANUARY 21, 2021
1. Jenkins Item 생성 (Pull Request)
- pipeline 선택
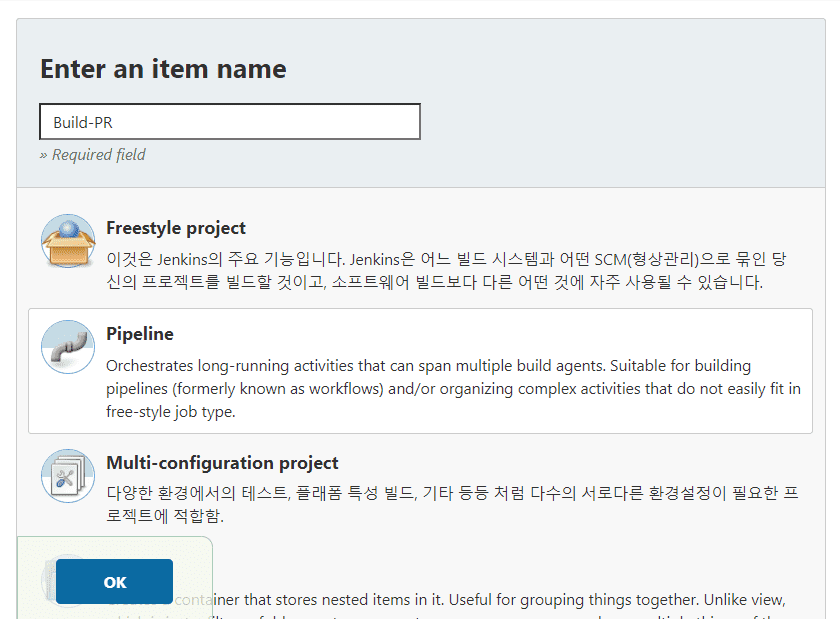
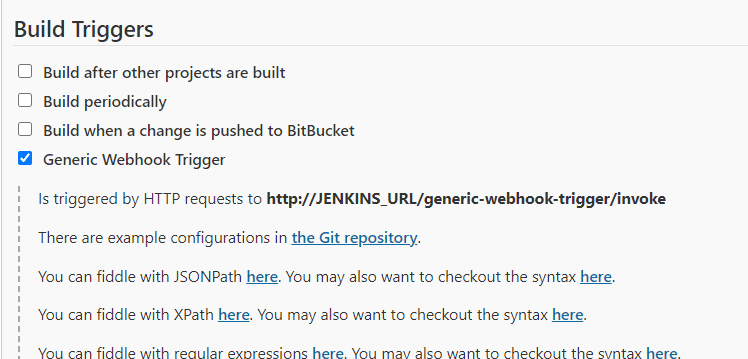
- Build Trigger에서 generic Webhook Trigger를 선택한다.
2. webhook token 설정
- BitBucket 에서 설정했던 token 값을 넣는다.


3. Parameters 정의
- request payload 에서 사용할 값들을 정의한다.
- bitbucket webhook 에 대한 각 이벤트 request payload는 여기 에서 볼 수 있다. 근데.. 난 보기 불편하다.
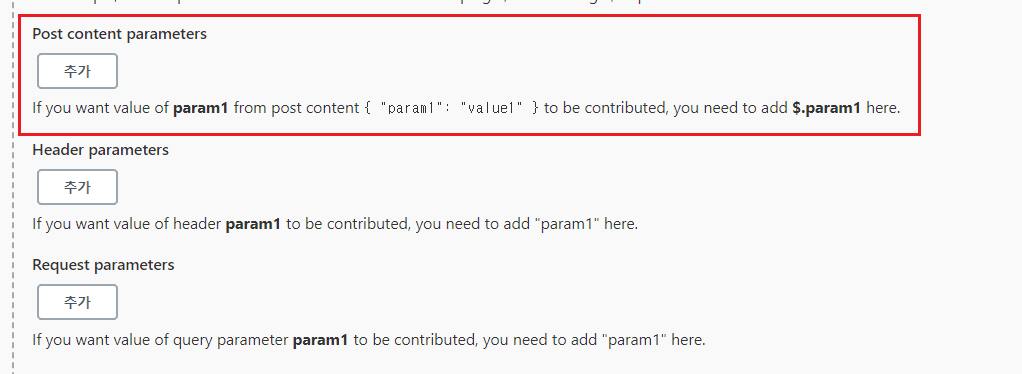
3.1. parameter catch 방법 선택
- 아래와 같이 paramters를 캐치할 수 있는 폼이 있는데, 해당 hook은 POST method 형식이므로 맨 첫번째를 선택한다.
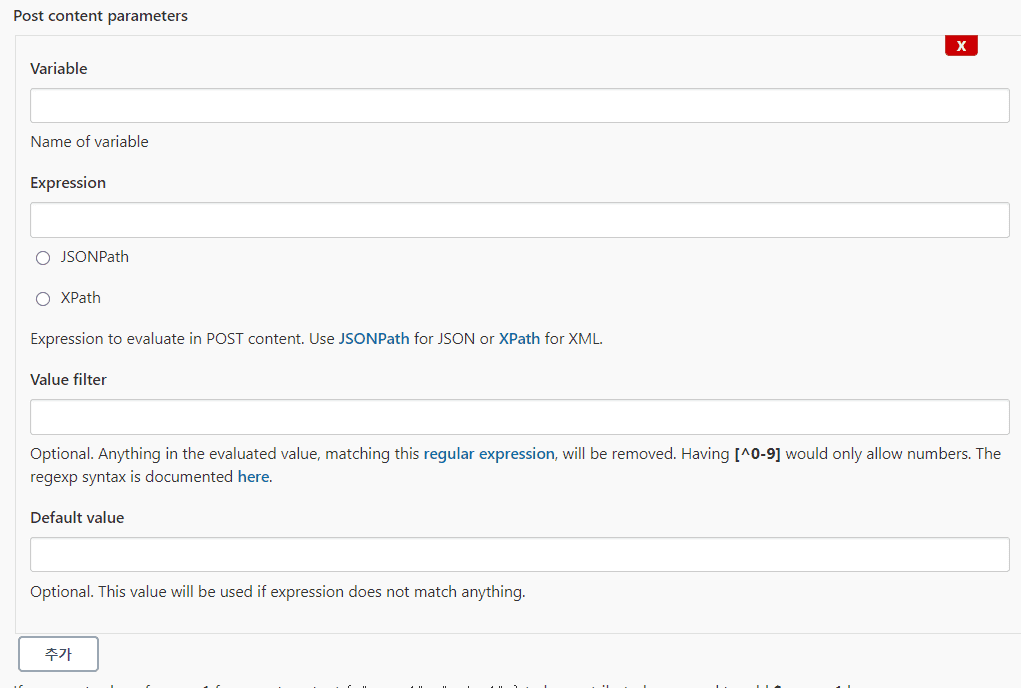
3.2. 사용할 변수들을 정의한다.
- Variable : 변수로 사용할 이름
- Expression : payload에서 사용 할 값
- JSONPath : payload가 json으로 들어오므로 해당 값을 선택한다.
3.3. 정의한 변수들
1. SOURCE_BRANCH
  -- PR 타켓 branch
  -- expression: $.pullrequest.source.branch.name

2. COMMENT_URL
  -- pipeline에서 정의한 stage 수행 시 comment 기록를 위한 url
  -- expression: $.pullrequest.links.comments.href

3. DECLINE_URL
  -- pipeline에서 정의한 stage 실패 시 PR decline을 위한 url
  -- expression: $.pullrequest.links.decline.href

4. REPO_URL
  -- git repository url
  -- expression: $.pullrequest.destination.repository.links.html.href
4. Pipeline 작성
- 맨 아래 pipeline을 작성하는 폼이 있다.
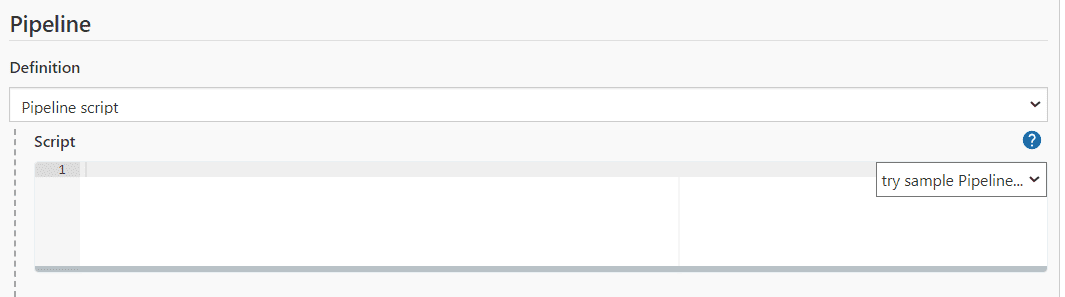
- 아래와 같이 작성한다.
- 예제는 Develop Branch PR 로 한다.
- 그 외 3개 시나리오에 대해선 github에 정리하자.
node {
    withCredentials([usernameColonPassword(credentialsId: 'bitbucket-auth-id-pw', variable: 'USER')]) {
        stage ('Clone') { //clone 타켓 branch
            try {
                git branch: '$SOURCE_BRANCH', credentialsId: 'bitbucket-auth-id-pw', url: '$REPO_URL'
            } catch(e) {
                sh '''
                    curl -X POST -u "$USER" $COMMENT_URL -d '{"content": {"raw": "[CLONE] FAIL"}}' -H 'Content-Type: application/json';
                    curl -X POST -u "$USER" $DECLINE_URL -d '{"content": {"raw": "[CLONE] FAIL"}}' -H 'Content-Type: application/json';
                    echo [CLONE] FAIL;
                    exit 1;
                '''
            }
        }

        stage ('Build') { //테스트 없이 소스코드 빌드 ( 컴파일 오류 체크 ), 실패 시 해당 PR comment 등록 및 decline
            sh '''
            {
                echo [BUILD - BACKEND]
                chmod +x ./gradlew
                ./gradlew clean build -x test \
                && curl -X POST -u "$USER" $COMMENT_URL -d '{"content": {"raw": "[BUILD] SUCCESS"}}' -H 'Content-Type: application/json' > /dev/null 2>&1 \
                && echo [BUILD] SUCCESS;
            }||\
            {
                curl -X POST -u "$USER" $COMMENT_URL -d '{"content": {"raw": "[BUILD] FAIL"}}' -H 'Content-Type: application/json';
                curl -X POST -u "$USER" $DECLINE_URL -d '{"content": {"raw": "[BUILD] FAIL"}}' -H 'Content-Type: application/json';
                echo [BUILD] FAIL;
                exit 1;
            }
            '''
        }
    }
}
> [작업로그] CI/CD 구축 #1 - CI/CD 시나리오
> [작업로그] CI/CD 구축 #2 - Docker, Docker Compose 설치
> [작업로그] CI/CD 구축 #3 - BitBucket 설정 및 Jenkins 설치